dev-resources.site
for different kinds of informations.
Port Forwarding to Amazon MQ

Overview
RabbitMQ is a powerful message broker widely used in modern applications for handling message queues. However, ensuring the security of your RabbitMQ instance is crucial, especially in a production environment. One way to enhance security is by deploying RabbitMQ in a private subnet. In this article, we'll explore how to set up a private RabbitMQ instance on AWS and enable access to it securely using port forwarding through AWS Systems Manager (SSM) Agent.
Prerequisites
- An AWS account
- Amazon MQ.
Install and Configure SSM Agent
Depending on your OS, download ssm agent here
Configure awscli using either of the following:
a) aws configure

Start port forwarding session:
Linux & MacOS
aws ssm start-session \
    --target instance-id \
    --document-name AWS-StartPortForwardingSessionToRemoteHost \
    --parameters '{"host":["my.example.mq.eu-west-1.amazonaws.com"],"portNumber":["443"], "localPortNumber":["4000"]}'
Windows
aws ssm start-session ^
    --target instance-id ^
    --document-name AWS-StartPortForwardingSessionToRemoteHost ^
    --parameters host="my.example.us-east-2.rds.amazonaws.com",portNumber="443",localPortNumber="4000"
You can use a different port other than 4000
In a separate tab open /etc/hosts with vim or nano and the following line.
127.0.0.1 my.example.mq.eu-west-1.amazonaws.com
Note: Please change my.example.mq.eu-west-1.amazonaws.com. You can get it as shown:

Conclusion
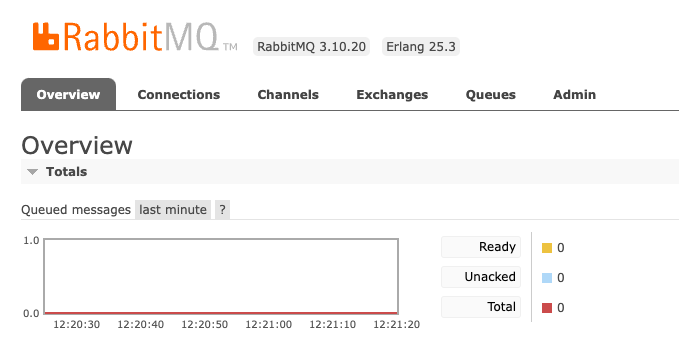
You are now able to access your broker outside the VPC from your local browser.
Featured ones:


