dev-resources.site
for different kinds of informations.
Dall.E Image Gen, And Size Comparison Of Image Formats
Image Gen And Conversion
Of late images generated via Dall.E can be downloaded only as .webp. This is slightly annoying because of it limited integration, for instance you can't upload a .webp image to twitter. This is only a minor inconvenience because you can easily convert webp to png image using ffmpeg.
ffmpeg -i input_image.webp output_image.webp
Now, why would open AI do such a thing? If I remember correctly the images weren't available as png directly.
Well, webp images are smaller in size, hence lower storage and egress cost (if any).
Comparison
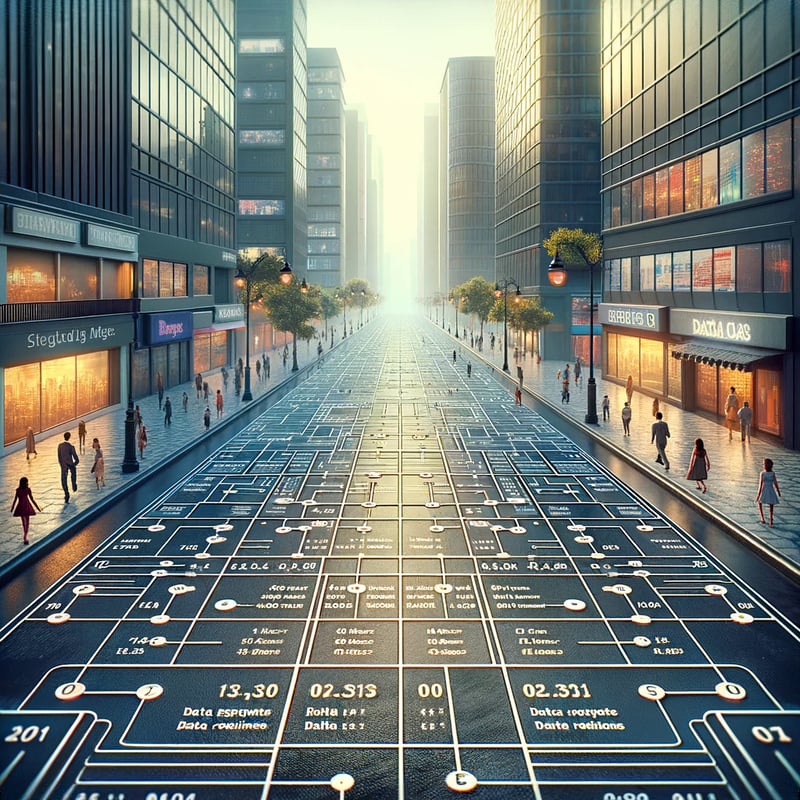
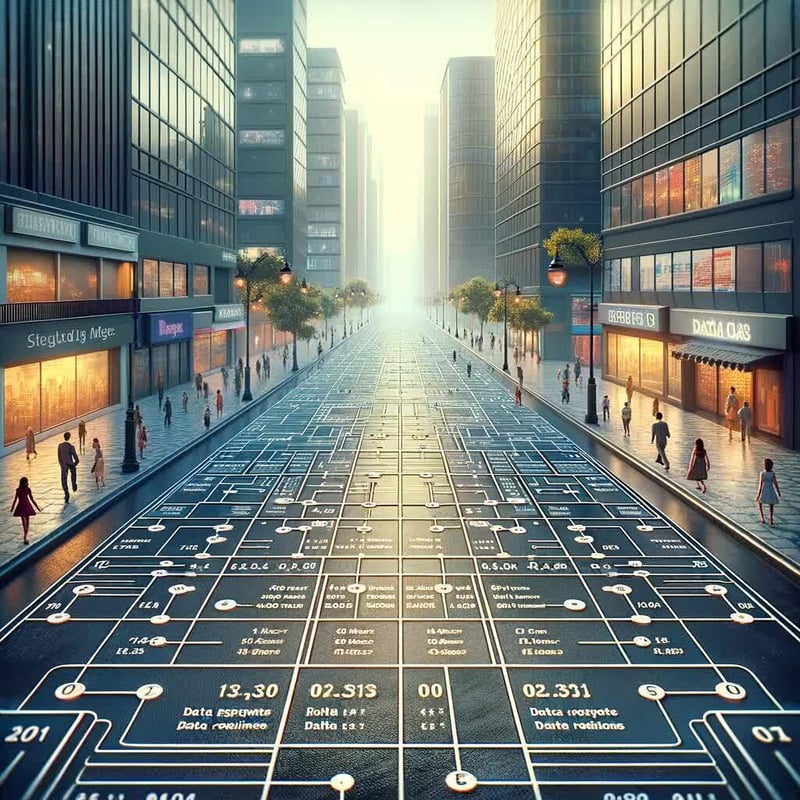
Now I wanted to know how much a size difference are we really talking about. So I generated an image using Dalle.E, downloaded it as web and converted to a couple other formats.
Here's the generated image:
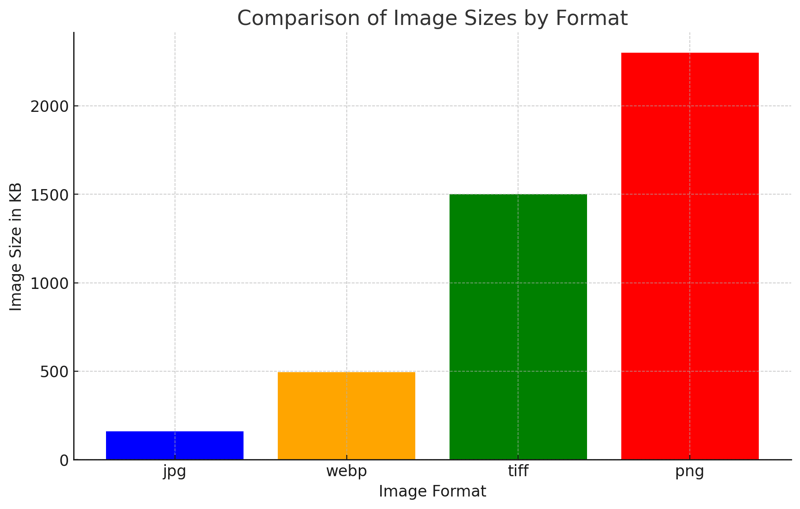
The chart below shows the difference in image size
As you can see, its a pretty steep increase in size when an image goes from webp to png.
I generated this chart using GPT-4. Here's the prompt that I used:
can you generate a bar chart for me, here's the x, and y data
x: jpg, webp, tiff, png
y: 160, 494, 1500, 2300
label for x: image format
label for y: image size in KB
One might wonder, why is there a difference in size when its the same image? The answer is difference in compression techniques.
JPEG format uses lossy compression, which means some data points from image are lost. Which means every time you edit a jpeg image some data is lost, and the image size decreases.
To further illustrate this I converted the same image to jpeg multiple.
Basically running following command:
ffmpeg -i silicon-road2.jpg silicon-road.jpg
to convert, and then run it again on the output.
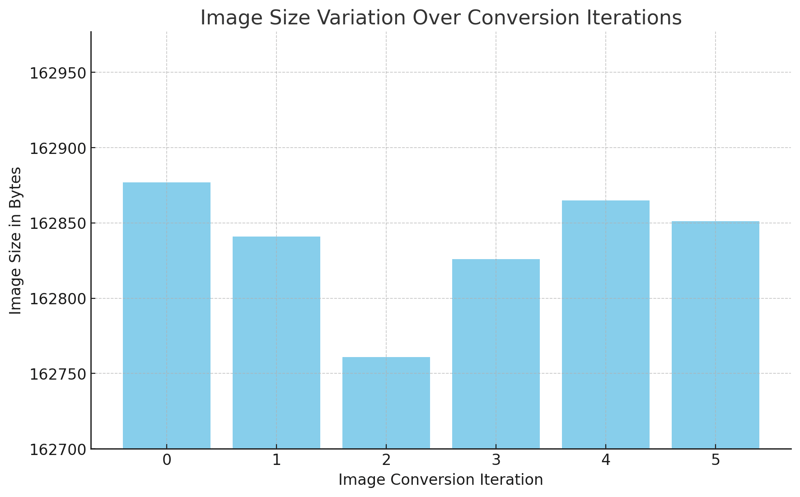
With every iteration there was minor change in size. The chart below shows the trend for 5 iteration
Side note : I wrote a script and ran it for 100 iteration.
The image size stabilised after 9th iteration. Yet to figure out the exact science behind this.
Script:
#!/bin/bash

input="silicon-road.jpg"

# Loop 100 times
for i in $(seq 1 100)
do
    output="silicon-road${i}.jpg"

    ffmpeg -i "$input" "$output"

    input="$output"
done
On the other hand PNG uses lossless compression which mean all the data points are preserved. Running the conversion operation has no impact on the image size.
What Did We Lose
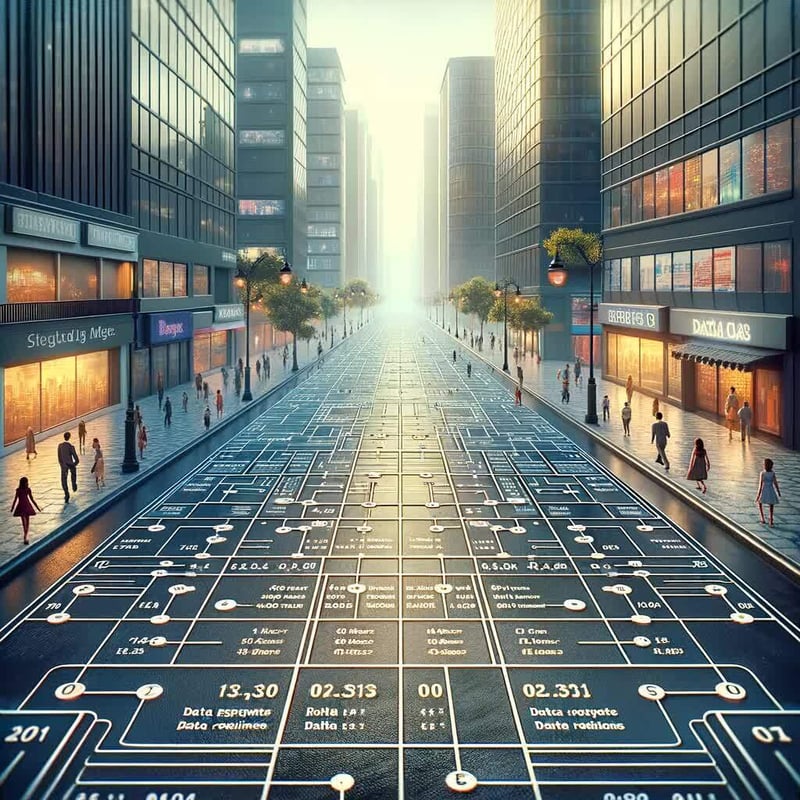
Here's the original image:
Here's the image after 10 conversions:
It can be hard or near impossible to notice any difference with naked eye. So we'll run following command to get the 'difference' :
ffmpeg -i silicon-road.jpg -i silicon-road10.jpg -filter_complex "[0][1]blend=all_mode=difference" difference.png
The command is essentially comparing (subtracting) the color value of each pixel. This way pixels with bigger difference will appear brighter.
Here's what the difference looks like:

There's isn't a whole lot going on, so let's take a look at the difference between the jpeg, and png image:
This ends my detour of image size comparison. I better get back to the task at hand.
Featured ones:
