dev-resources.site
for different kinds of informations.
[04/52] MOAR CMAKEZ!
One of the more wonderful things about CMake standardizing C++ codebases is that programs (like scientific tools) that have historically been available only on Linux--at best, with painful support for mediocre toolchains like MinGW--are now accessible to a much wider audience, even if you're building from source.
Today we're going to look at one tool in particular that ends up being a great example of how small and useful tools (like CMake and Visual Studio Build Tools) can be used to build (and even customize!) such programs with relatively little headache.
Some Investigating
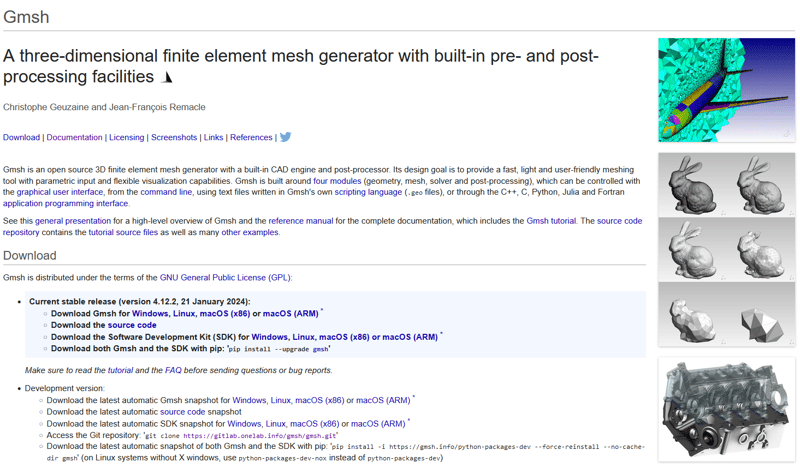
Let's look at the tool gmsh. This is a mesh generator that is part of a pretty neat and powerful set of numerical modeling tools with physics applications.
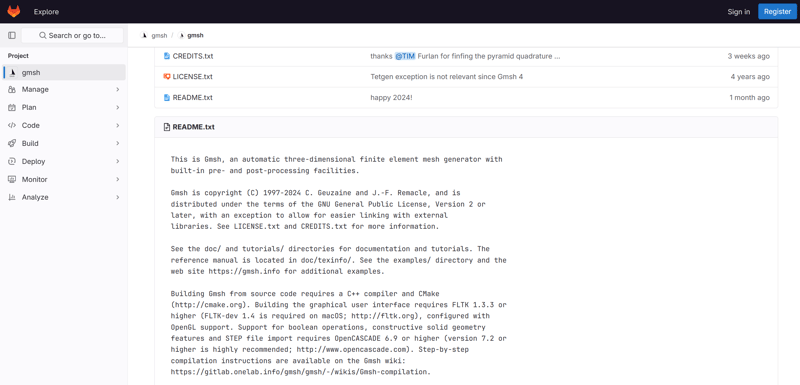
If you go to the website, the first thing that pops out is the fact that they have a GitLab instance linked where development takes place and where the code source is managed. This is a great sign! If you follow that link, you'll find the project page with git-clone addresses, a handy README, release tags, and links to a wiki with excellent build instructions.
https://gitlab.onelab.info/gmsh/gmsh
The second thing I notice is, there are specific build steps. It mentions the "official" binary releases are built on MinGW, but that doesn't necessarily mean MinGW (or other cross-build tools like WSL) is strictly needed. Let's see if we can get away without it.
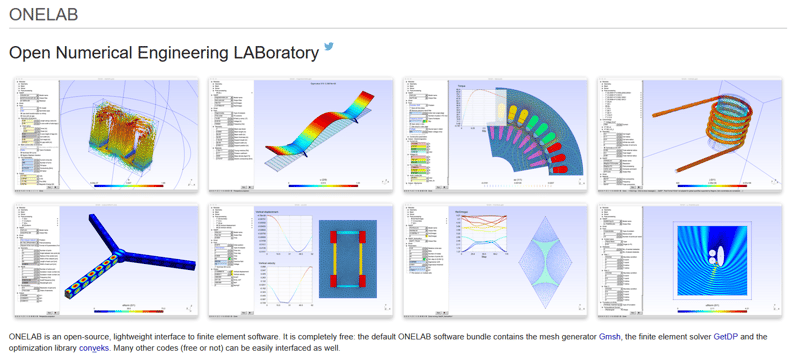
The other thing you'll notice is that this is part of a suite of tools, "ONELAB". At first I thought this was an organization or laboratory, but it turns out to be a really neat suite of open source numerical modeling tools, and it's worth checking out some of the others.
But let's focus on GMSH for now. From the project page, copy the https URL and use git to clone it locally:
> git clone https://gitlab.onelab.info/gmsh/gmsh.git
There are no submodules or other dependencies we need to grab (feel free to verify this yourself). So, now we're ready to open the source and dive in!
Build Tools
JUST KIDDING.
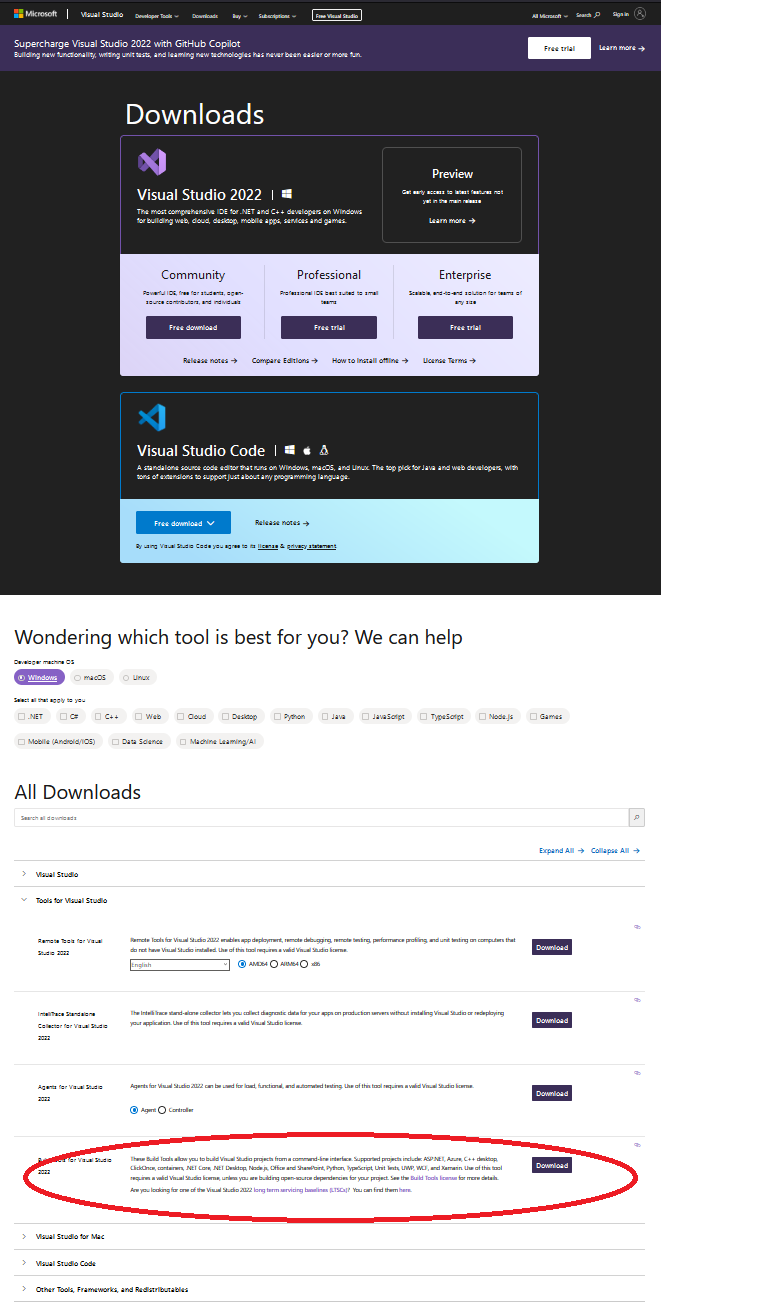
You might need to make sure you have the right tools first. This doesn't necessarily mean waiting for hours to download the Visual Studio IDE, or worry about community licensing restrictions, though. Instead, you can grab every program you need to just run from the command line by downloading the "Visual Studio Build Tools".
https://visualstudio.microsoft.com/downloads/
Scroll aaaaaall the way down and look for the "Download" button under the (as of 2024/02/08) "Tools for Visual Studio" > " section. It's easy to miss, so I've circled it in red below.
Build Tools for Visual Studio 2022"
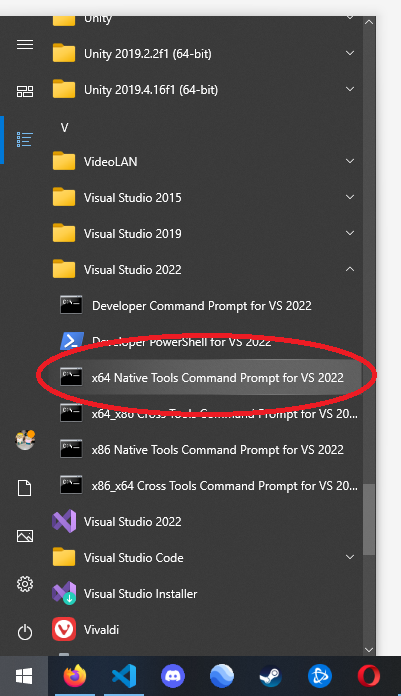
Once you've installed these tools, you'll see a variety of .BAT files under "V" for "Visual Studio" in your Start menu. These give you the choice of launching cross-platform build environments to, for example, build 64-bit programs from a 32-bit platform (and vice-versa). These are practically useless though--it's 2024, who's building 32-bit programs!? Instead, select the "Native x64" option (again, circled in red).
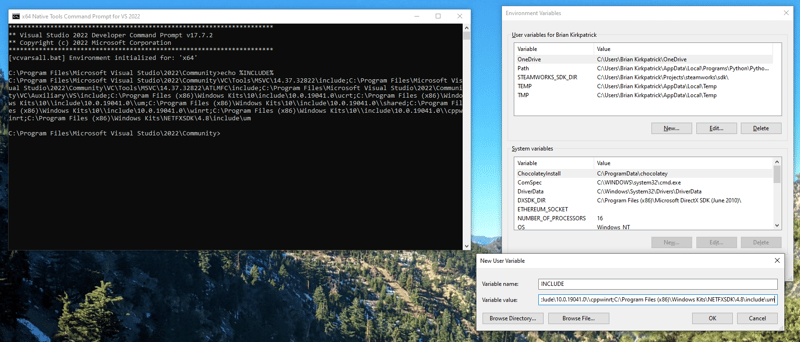
This launches a command prompt, with a specific environment set up. But you don't want a "special" environment, you want these tools to be available at any point in time! So, let's look at the changes. Specifically, there are three adjustments we need to our user's environmental variables that we can glean from this environment.
First, we need %INCLUDE%. This defines a set of paths where the compiler looks to #include source files and headers. This typically includes a variety of system library paths; without these, you couldn't even build a basic <iostream> program! So, use echo and copy-paste the results into your own version of this environmental variable.
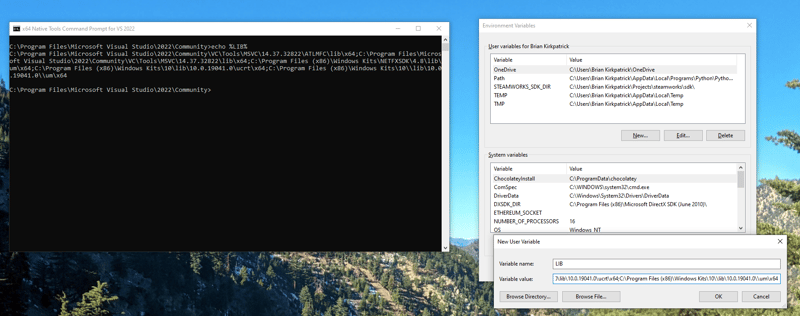
Next, we need %LIB%. This defines a set of paths where the linker (basically the second stage of building a C/C++ program) can find other static libraries with symbols/instructions that the compiler may have assumed would be available by the time the finished product was build. Again, use echo and copy-paste the results into your own version of this environmental variable.
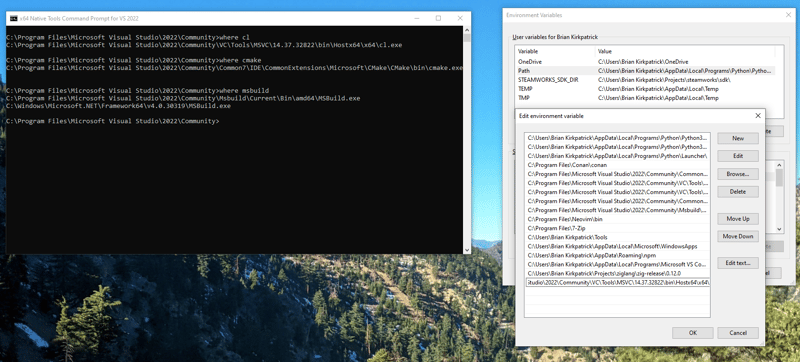
The last need is a little bit more subtle. You have a %PATH% environmental variable already that tells your system where to look for executables that are invoked. There are several programs you will need to call for our builds to work, roughly organized into three groups:
Tools within the build chain, like
cl(the compiler) andlink(the linker); these names are specific to Visual Studio, and there are other executables you'll need for other various steps in the build chain, but they're all located in the same place. Usewhere clto figure out where they were installed, then add the absolute path to your%PATH%environmental variable.We'll also want
cmakeitself, which is installed to a different path. CMake configures the build chain, according to the project definition and specific options, before it is "handed off" to a specific "generator" (basically, overseer of build chain tools). Again, usewhere cmaketo figure out where it is installed, then add the absolute path to your%PATH%environmental variable.Lastly, we want
msbuild. This program is like a command-line version of Visual Studio itself--it is responsible for overseeing the build chain that turns a project or solution into a final product. For Windows platforms, this is the "generator" that CMake will use. Like before, usewhere msbuildto figure out where it is installed, then add the absolute path to your%PATH%environmental variable.
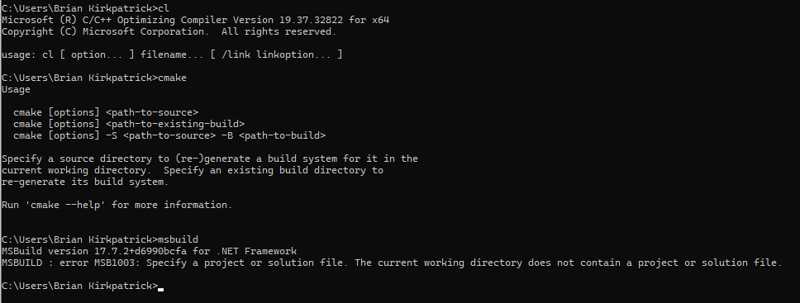
Once you've finished, open up a "fresh" command prompt (WIN+R > cmd) and verify that you can access cl, cmake, and msbuild.
Okay. NOW we're ready to dive into the source!
The Source
The first thing we see within our clone is, there's a top-level CMakeLists.txt file. This is very promising! It means we can go ahead and invoke CMake directly without worrying about other platform-specific tools like Make. Let's give it a shot and see what happens. First, we need to call CMake to set up a build configuration:
> cmake -S . -B build
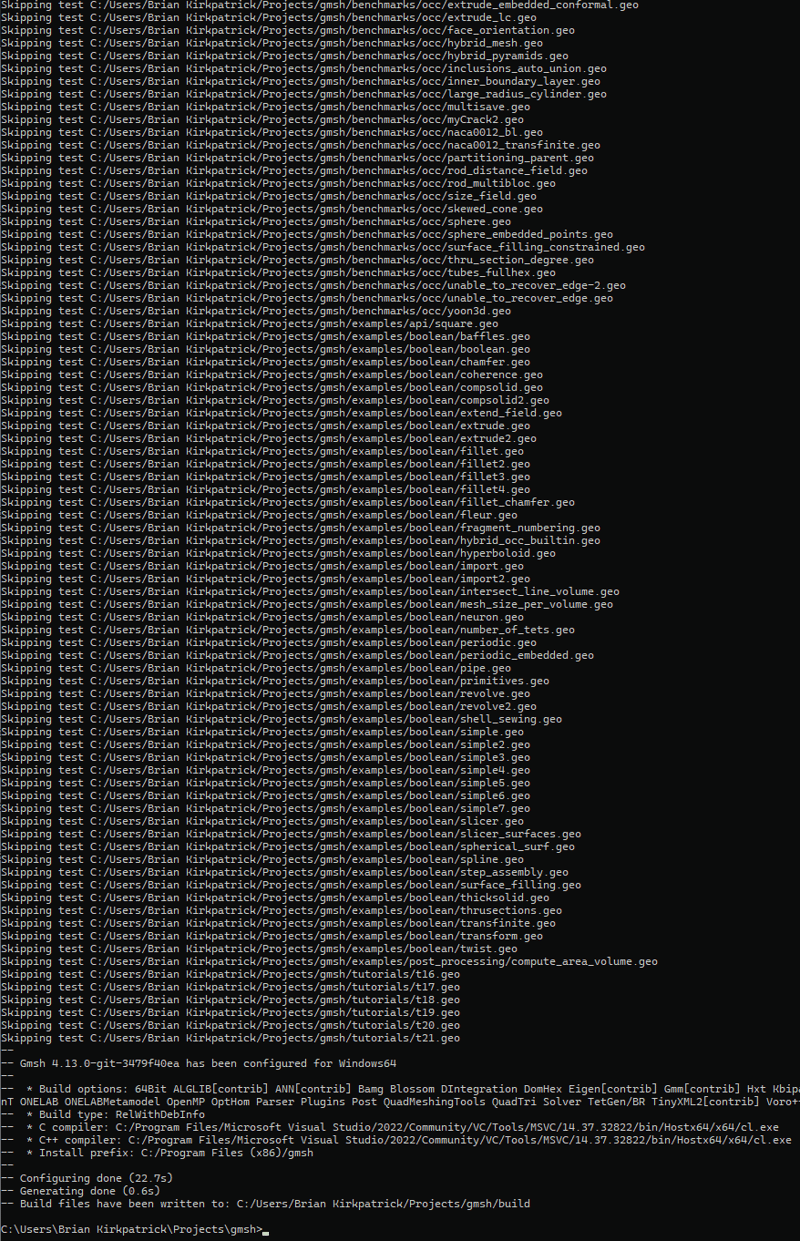
In this case, the -S option tells CMake that the source (effectively, the CMakeLists.txt file) is located in our current folder, and the -B option tells CMake that the "build" folder should be created to store build artifacts. And we see this marches through without any major issues. You can see CMake looking for various build options and dependencies within your environment; it's kind of interesting to see what it checks for.
Now we can tell CMake to call the "generator" (in our case, Visual Studio, a la the msbuild program) to run through that build configuration.
``sh
cmake --build build
``
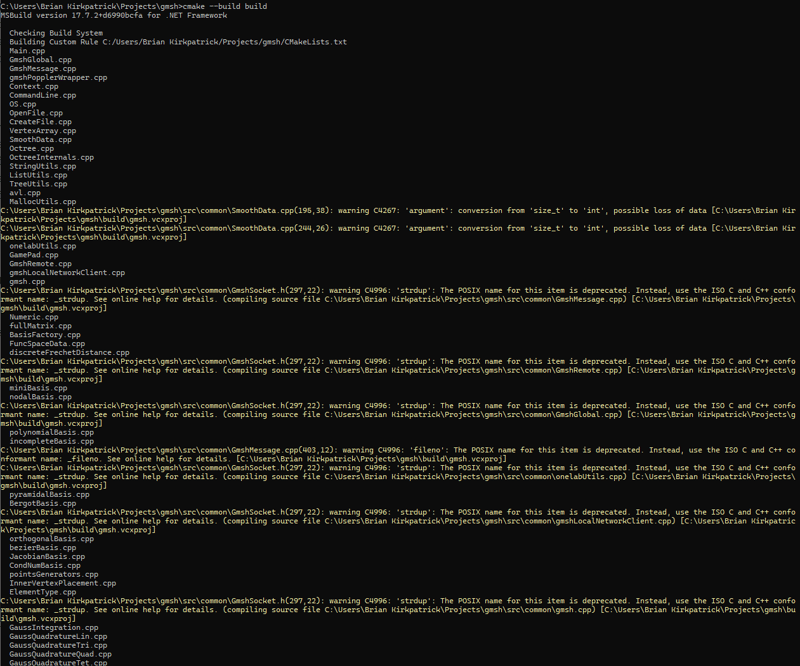
This tells CMake to use the build configuration artifacts within the "build" folder to invoke the default generator. And you'll notice pretty soon that there are issues:
Oh no! We have to give up!
Not So Fast
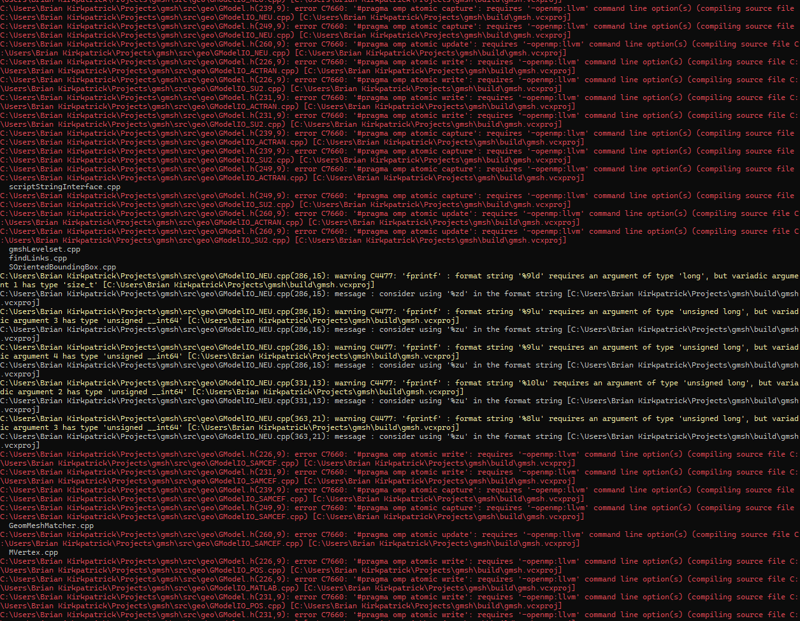
If we look at the build messages, we see that the errors are pretty much all related to one specific assumption--that the system can utilize a specific command line option:
...\gmsh\src\geo\GModel.h(260,9): error C7660: '#pragma omp atomic update': requires '-openmp:llvm' command line option(s) (compiling source file ...\gmsh\src\plugin\VoroMetal.cpp) [...\gmsh\build\gmsh.vcxproj]
LLVM is another compiler toolchain, so that's probably not the issue. Instead, let's focus on "OpenMP", which is an advanced message-passing library for high-performance computation. This was never mentioned in the documentation of GMSH's requirements, so it's probably optional. Let's dive into the CMakeLists.txt file and see if there's a way to we can disable or ignore it.
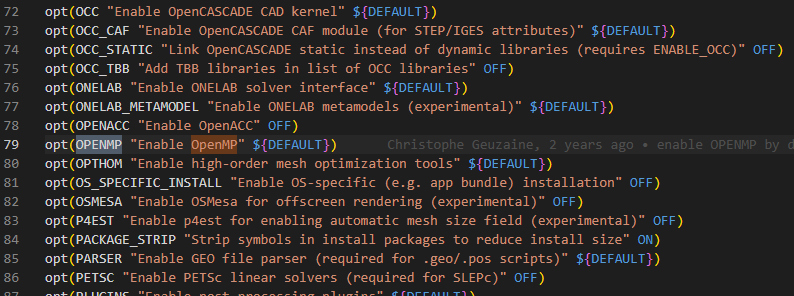
Sure enough, if we search for openmp we see there's an option defined on line 79. This uses a macro, opt(), so let's look at how that relates to the build. It's defined on line 29.
What we see here is, this macro translates the call into an ENABLE_OPENMP (in this case) flag. This defaults to "true", so we want to define it to be "false" instead. Let's look at the CMake options to see how we could do that.
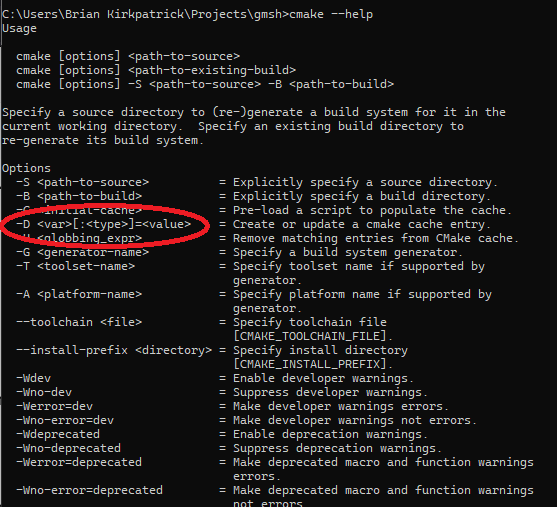
Indeed, we see there's a -D option for setting specific values. Let's call CMake again, but this time assert that we don't want to enable OpenMP:
> cmake -S . -B build -D ENABLE_OPENMP=false
After the project is successfully configured, let's try to build it again:
> cmake --build build
Hey, that looks pretty good!
The Program
Take a look at the "build" folder used by CMake to organize our build configuration and artifacts. The specific structure of this folder will change depending on the "generator" you used. For Visual Studio, the typical output location will be under "build/Debug" (debug being the default build configuration, as opposed to "Release").
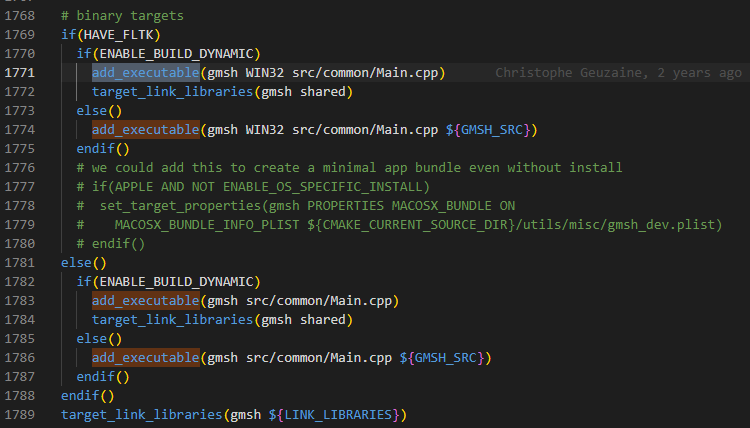
We can verify what the build outputs should be by searching our CMakeLists.txt file for the add_executable directive. Sure enough, there's only one entry point defined for an application (some projects include many), though it can be build with several different conditions. So, we should expect the "default" output to be gmsh.exe, build from "Main.cpp" entry point in the source.
And sure enough, if we look under "build/Debug", there it is! Double-click it and see what happens.
Oh no! Is something wrong?
No. What this typically means is, the application was build to be invoked from the command line. We can verify this from the wiki documentation:
https://gitlab.onelab.info/gmsh/gmsh/-/wikis/Gmsh-compilation
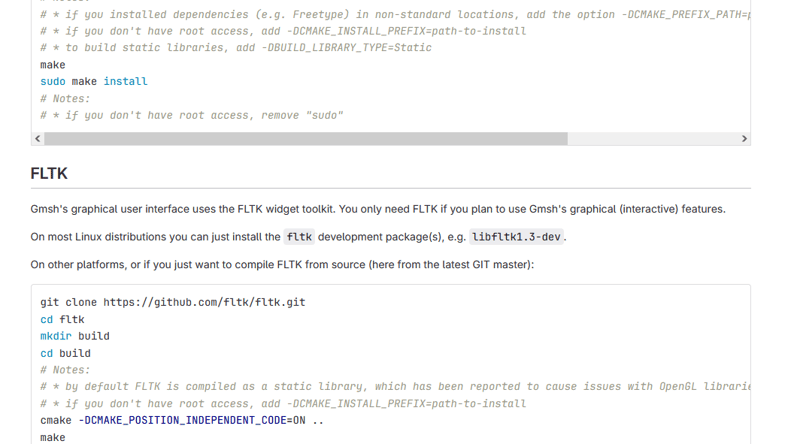
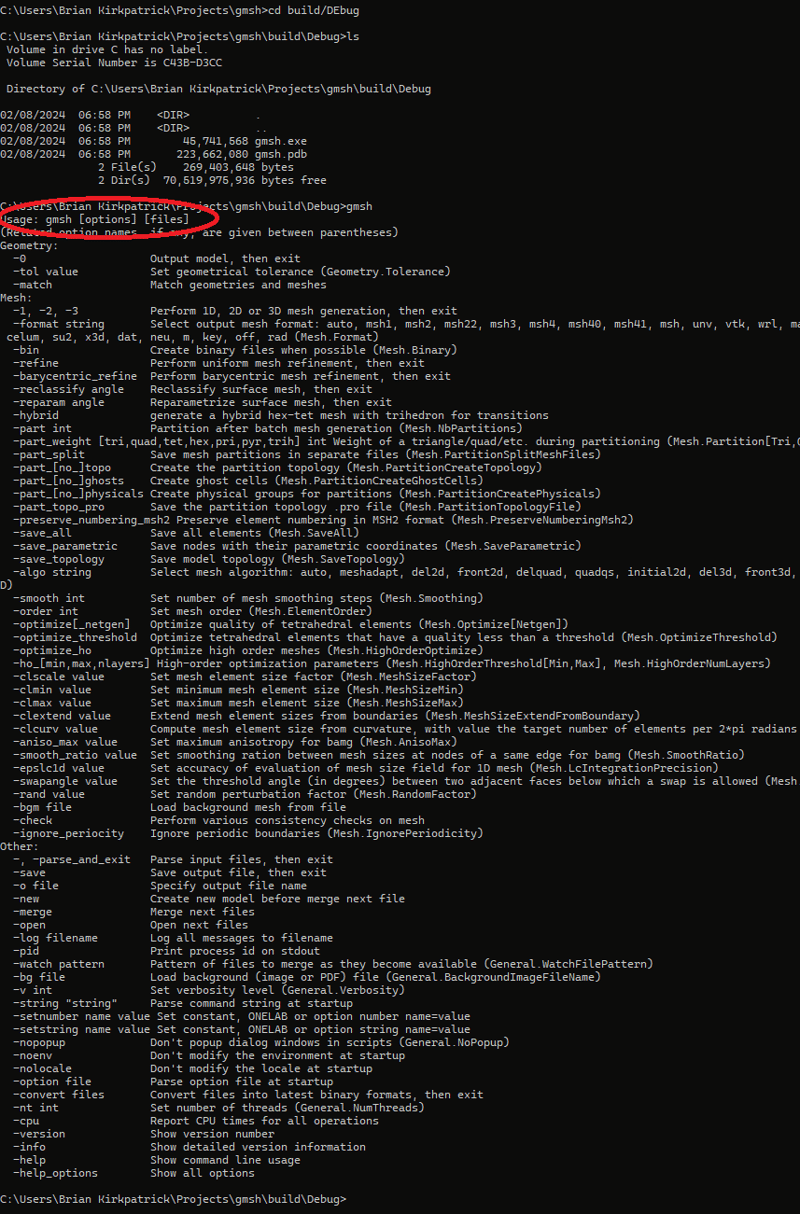
So, if we want the GUI version/wrapper, we'd need an additional library. This isn't unusual. It's probably not difficult, but we'll leave this as an "exercise to the reader" (or maybe a subsequent article/video). In the meantime, let's invoke the program from the command line and see if it runs.
Hey, it worked! A lot of programs, especially in the space of scientific applications, will use an "empty" invocation as an excuse to tell you how it should be called, and this is no exception. How do we read this?
In red, I've circled the most important thing--how the command line arguments are structured. Any program has input (sometimes passed via STDIN), output (sometimes written to STDOUT), and maybe a third channel for errors & warnings (like STDERR). It's worth familiarizing yourself with these concepts.
https://en.wikipedia.org/wiki/Standard_streams
In this case, we see that the input files are passed to the executable as part of the call. In addition to these channels, you typically have various options you can configure, passed as (for example) flags or key-value pairs. Documenting those takes up the bulk of the "help" we saw printed out.
And that's about it! You should have plenty to get started with some basic use cases for this particular tool. AND, you should have plenty to get started with building many other programs, too--not to mention start developing your own! It's a crazy, wonderful world of C/C++ programming out there, thank goodness (and CMake) that we're reasonable cross-platform in our modern times so everyone can enjoy it with us.
Featured ones:
